Author: Quinn Dunki
Bread Head
A breadboard programming header for AVR microcontrollers
I’ve been working with AVRs quite a bit lately, and I wanted a quick way to program them on a breadboard. Something that would be durable, and easy to stick into an existing circuit for rapid iteration of code.
This is what I came up with. I call it the Bread Head.

This is designed for 8-pin AVR microcontrollers. Note that Pin 1 is marked, as is the "notch" on the standard 6-pin programming header. I'm a huge fan of the ATtiny13a, and I use a lot of them, so this was a logical form factor for me.
This little guy was easy to make, and has been a real time saver when iterating on a breadboard. The trick is upside-down protoboard, and longer-than-usual headers! Read on to see how it’s built.

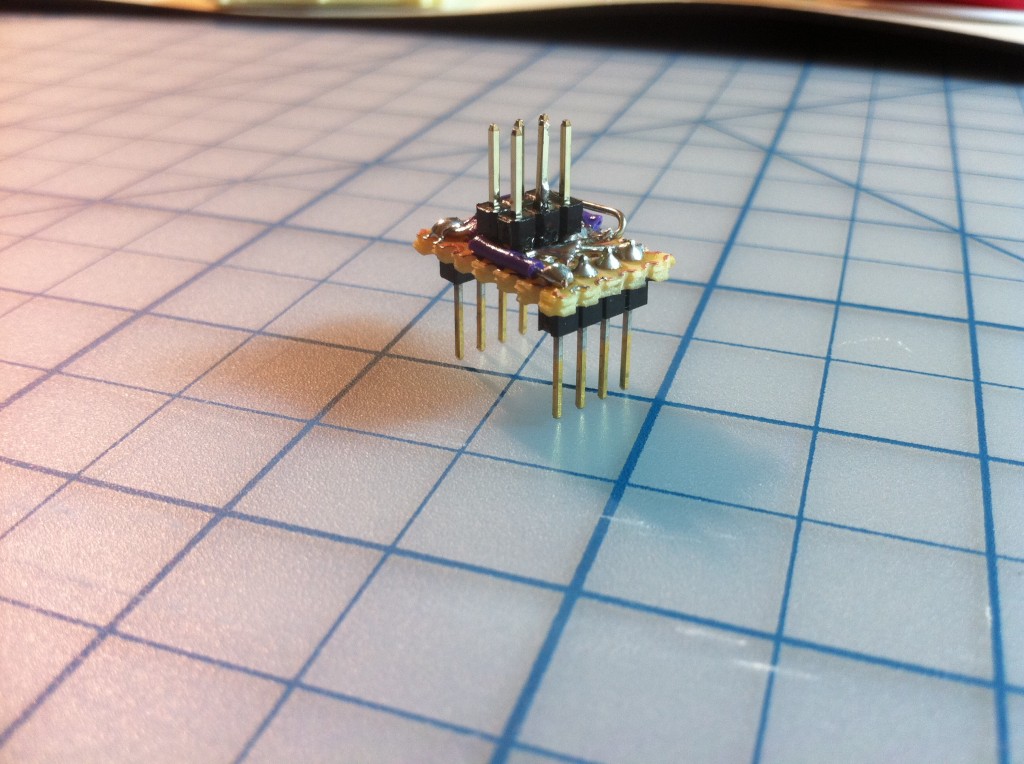
The connector on top is just two rows of snappable header, three pins long. The trick is that they are soldered to the top side of an upside-down piece of protoboard. Soldering under the plastic bits without melting them was a bit tricky. It's important that the pins do not stick through the protoboard. They are flush with the non-copper surface.

The two rows of four pins on the bottom are also snappable headers. The trick with these is that they are longer than usual. These are 13mm long (shown here, next to standard 10.37mm headers). They must not be any shorter than 13mm. Longer is fine.

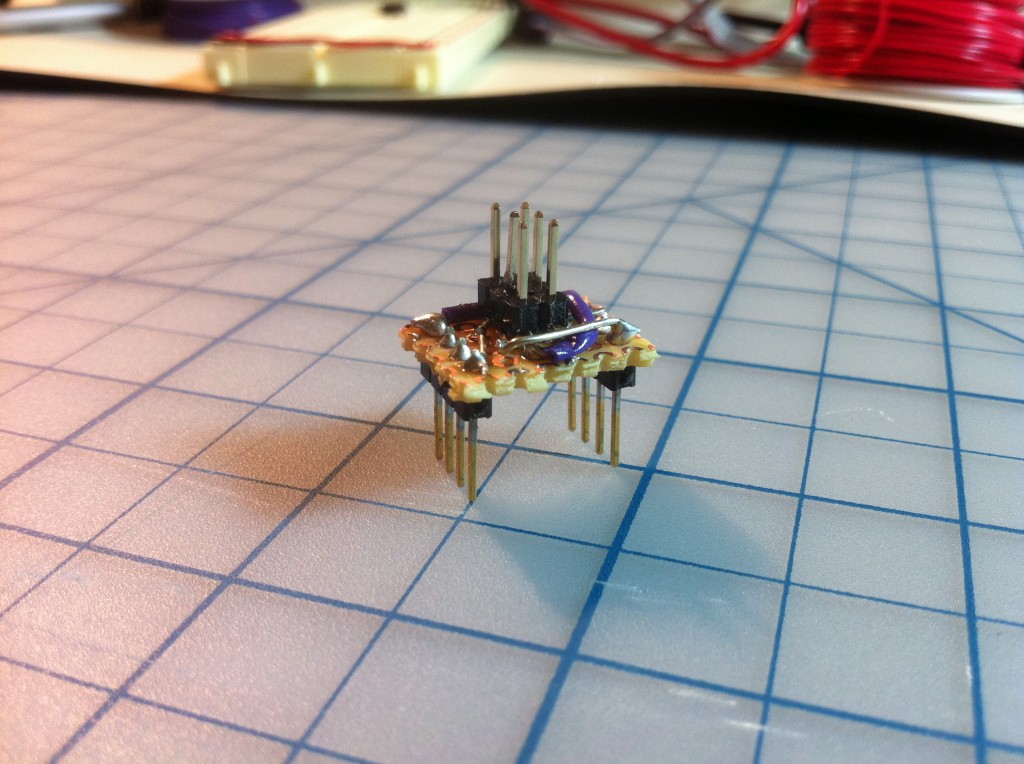
The four-pin underside connectors are simply solder to the copper pads on top of the protoboard (which is normally the underside!). Next, very carefully run jumpers from each pin on the topside header to the appropriate pins on the underside headers.

Here's another angle on this process. These connections are a bit tricky and space is tight, so take your time.

Now we're ready to test it. You can see how it fits over the microcontroller. All you have to do is leave an empty row of holes immediately surrounding the chip. Otherwise, you just prototype your circuit as you normally would.

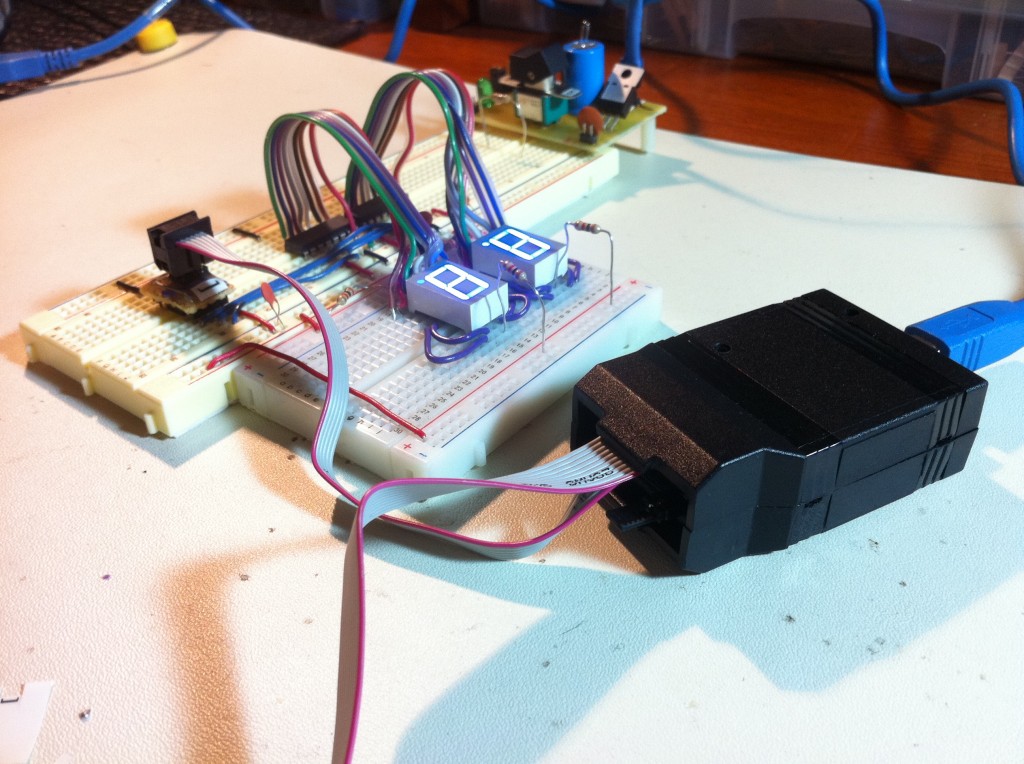
Here it is fully inserted, with the programmer attached. Notice that I wasn't kidding about the 13mm headers or the flushness requirement of the topside pins. The non-copper side of the protoboard is tight against the top of the microcontroller.

Once I knew it worked, I slathered the whole thing in epoxy. It's going to get yanked in and out a lot, so it needs to be tough. I also marked pin 1 and where the notch would be if I wasn't too cheap to buy a 6-pin boxed header. Note how leaving an empty row of holes around the chip is all that is needed. Prototype away!
That’s the Bread Head. This has been such a success, that I think I will make other sizes for other common AVRs, such as the ATtiny2313.


